 ← PostgreSQL Blog
Installing Percona Monitoring & Management (PMM) with Postgres
Installing Percona Monitoring & Management (PMM) with Postgres
Introduction:
Percona Monitoring and Management (PMM) is a comprehensive tool used to monitor and manage database performance. For those looking to monitor and analyze PostgreSQL’s performance, PMM provides an effective solution. In this article, we will walk through installing PMM using Docker on an RHEL system and configuring it to monitor your PostgreSQL database.
1. Installing PMM
1.1 Installing Required Packages
Start by installing the necessary packages. Use the following commands to install Docker on your RHEL system:
sudo yum install -y yum-utils
sudo yum-config-manager --add-repo https://download.docker.com/linux/rhel/docker-ce.repo
sudo yum install docker-ce docker-ce-cli containerd.io docker-buildx-plugin docker-compose-plugin -y
sudo systemctl start docker
1.2 Setting Up PMM Server with Docker
Pull the PMM server Docker image:
docker pull percona/pmm-server:2Create a data container for PMM:
docker create -v /srv --name pmm-data percona/pmm-server:2 /bin/trueNext, run the PMM server:
docker run -d -p 80:80 -p 443:443 --volumes-from pmm-data --name pmm-server --cpu-shares 100 --memory 1024m --restart always percona/pmm-server:2To check if the PMM server is running, execute:
docker ps1.3 Accessing the PMM Web Interface
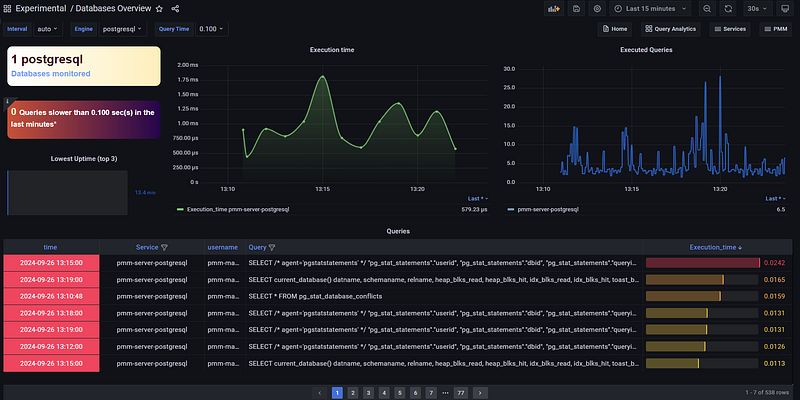
Once the PMM server is running, access the web interface at https://10.**.**.**/graph/login.
2. Installing and Configuring PMM Client
2.1 Installing PMM Client
Install the PMM client on your server using:
sudo yum install https://repo.percona.com/yum/percona-release-latest.noarch.rpm
sudo yum install pmm2-client -y
2.2 Configuring the PMM Client
To connect the PMM client to the PMM server, run:
pmm-admin config --server-insecure-tls --server-url=https://admin:test123@**.**.**.**:443 **.**.**.**generic pg-clientNote: The default PMM admin password is admin. You can change it using the command below:docker exec pmm-server change-admin-password test1232.3 Adding PostgreSQL Service to PMM
Next, you need to add your PostgreSQL service to PMM for monitoring. On the client machine, run the following command to register the PostgreSQL service:
pmm-admin add postgresql --host=**.**.**.** --port=3737 --user=pmm_user --password=test1233. Setting Up PostgreSQL for PMM Monitoring
3.1 Creating a PostgreSQL User and Granting Permissions
To enable PMM to monitor your PostgreSQL database, create a user with the following commands:
psql -p 3737 -c "CREATE USER pmm_user WITH ENCRYPTED PASSWORD 'secret'"
psql -p 3737 -c "GRANT pg_monitor to pmm_user"
3.2 Adding Access Permissions to pg_hba.conf
Grant PMM server access to your PostgreSQL database by editing the pg_hba.conf file:
echo "host all pmm_user **.**.**.**/32 scram-sha-256" >> $PGDATA/pg_hba.conf3.3 Reloading PostgreSQL Configuration
To apply the changes, reload the PostgreSQL configuration:
psql -c "select pg_reload_conf()"Conclusion:
In this article, we provided a comprehensive guide to installing PMM on RHEL using Docker and integrating it with your PostgreSQL database for performance monitoring. PMM is a powerful tool that can help you monitor and analyze the performance of your database, ensuring optimal operations. For more detailed and technical articles like this, keep following our blog on Medium. If you have any questions or need further assistance, feel free to reach out in the comments below and directly.